Homemade solder stencils
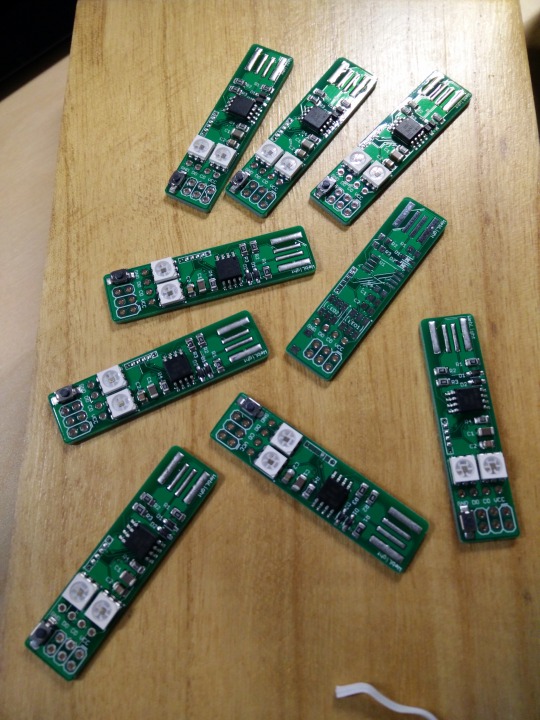
There are eight new WebLights in the world as of today!
I did a short run of 10 PCBs (version a-seeed1) from SeeedStudio, placing the order November 10 and receiving it December 3. I decided to try making a solder stencil with my new Silhouette Cameo according to the excellent instructions from Cathy Saxton.
I used 4 mil mylar for the stencil material. This required a blade depth of 3 rather than the 1 that Cathy recommended. It’s possible that 2 would work, but I didn’t notice any scoring on the mat.
My stencil shapes didn’t turn out perfectly square; instead they were each individually rotated just a bit clockwise. I don’t know why this happened.
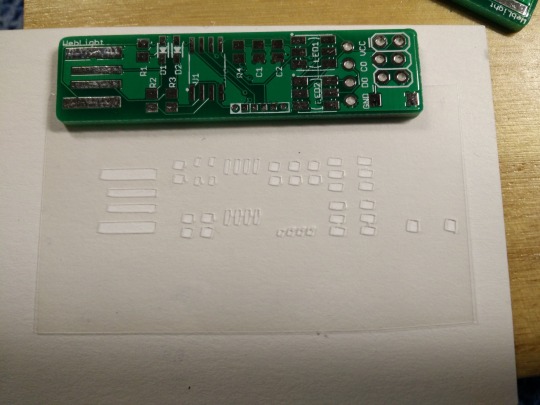
But I figured they were close enough to work, so I used that stencil without trying to debug the process. Otherwise everything was as Cathy said.
I used an old shopping loyalty card to spread the solder paste. I don’t have a lot to say here because it was fairly easy. I shone a light at an angle that let me see whether any of the pads were still shiny, and if they were I went over them again.
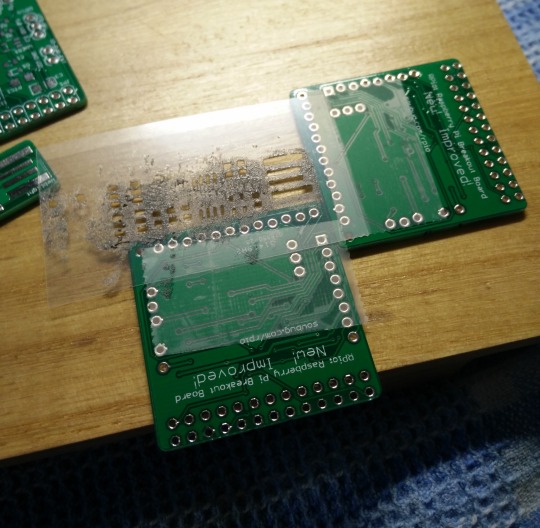
After reflow, only one piece failed: the reset switch on the very end hadn’t reflowed, so it fell off while I was moving the boards around. I touched up with a regular soldering iron, and it was fine.
I decided to throw away the stencil after these eight boards because it was dirty. I got 25 sheets of 8.5-inch by 11-inch mylar for $14.50, and this was just a small rectangle of one of those sheets, and making the stencil was so easy that it didn’t feel precious.
Pick and place is still a horrible, horrible experience. My eyes hurt, my back hurts, and I feel silly crawling around on my floor looking for one-cent SMT components that have flicked themselves off my table. (Fun game: find the upside-down 0805 resistor in this picture.)
